Building a Site with Vue, Nuxt.js, and WordPress REST API, Part 1
This is the first part of a <span>{{ series.length }}</span>-part series where we use the WordPress REST API to build a blog layout using Vue and the static renderer Nuxt.js.
- Part 1 - Getting Started (You are here)
- Part 2 - Site Data and Vuex Store
- Part 3 - Displaying Posts and Adding Some Style
Why?
On a recent ShopTalk Show, Chris and Dave were talking about WordPress REST API and wondering where the front-end templates built SPA-style were. I’ve been looking for an opportunity to build something with Vue lately after mostly doing React work for the moneydollars.
Get a WordPress Site
Our first dependency is to have, you know, a WordPress site that supports the WordPress REST API v2. The good news is that any self-hosted WordPress site running up-to-date software is good to go. If you don’t have a WordPress site handy to play with, you can quickly and easily set a local environment up using VVV or you can slowly and painfully set one up using MAMP.
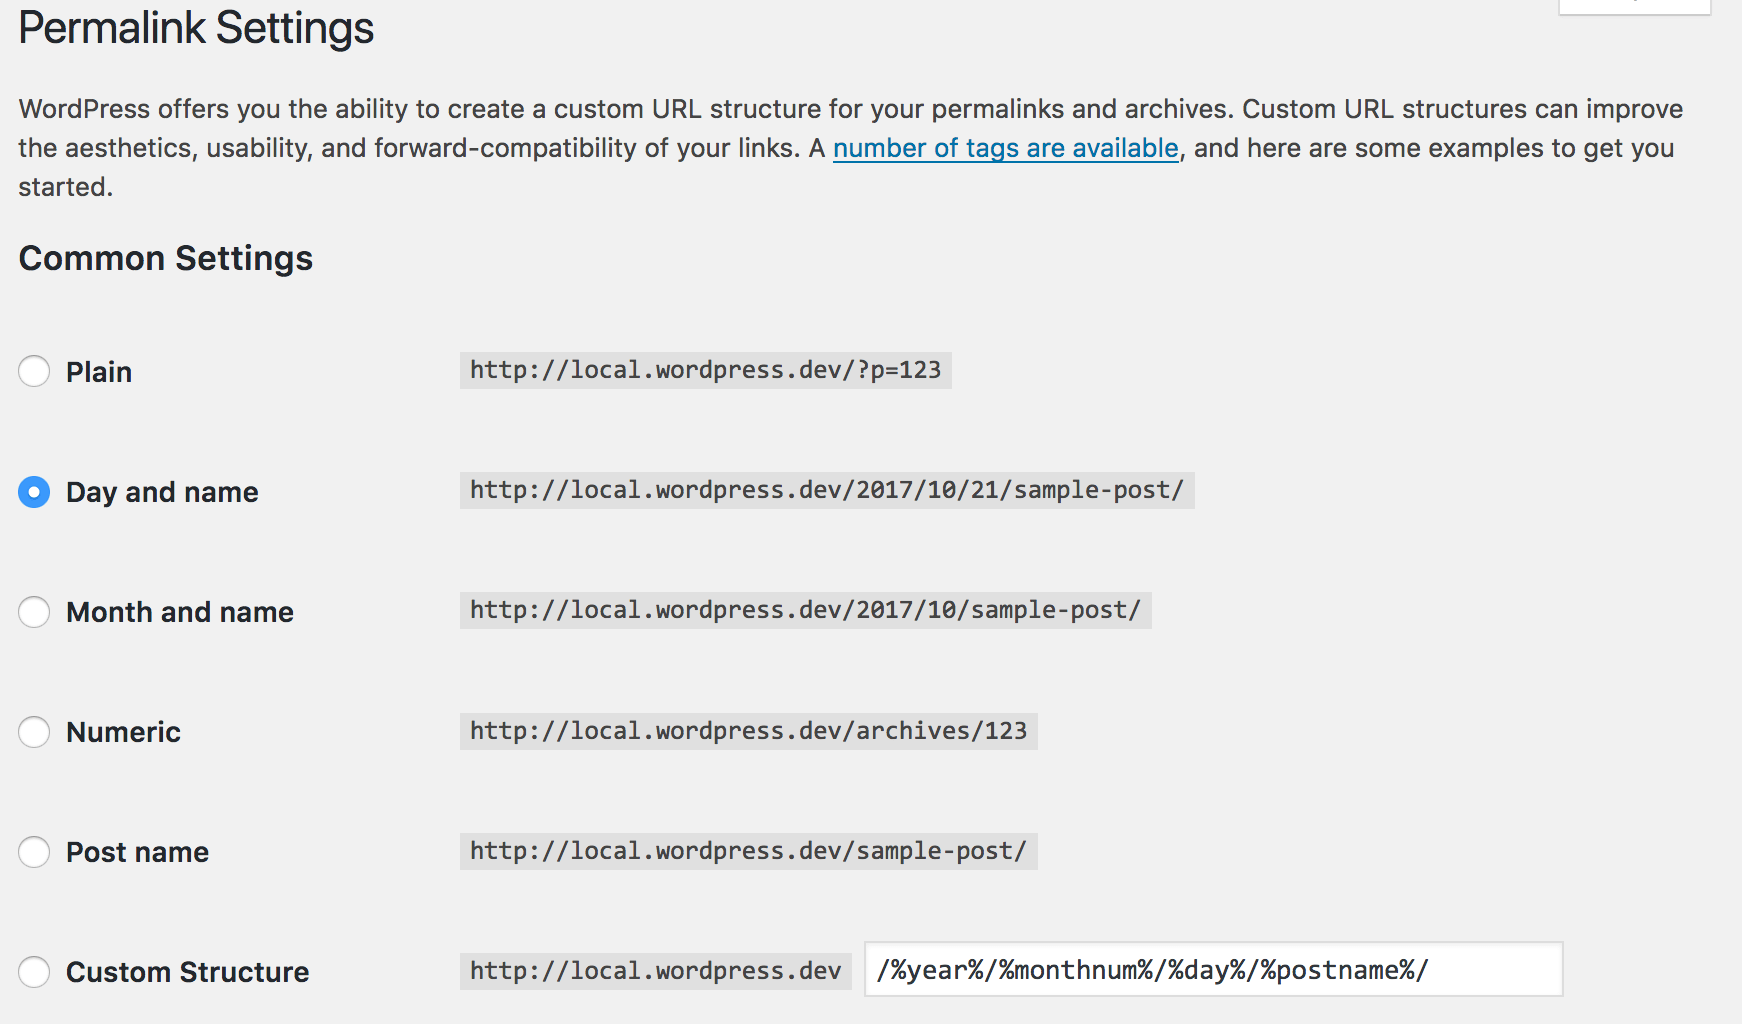
One thing to note is that you must cannot use the plain, query parameter (?p=123) style URLs. You must change your permalink settings (Settings > Permalink in the Dashboard) to use a pre-set date formatted or custom URL format.
If you’re just setting up a new site and you want some test data, you can install WP Test data.
Now that your WordPress site is set up, you can view the API data in the browser by going to:
http://local.wordpress.dev/wp-json/wp/v2/posts
(I’ll be using VVV, so throughout these posts, my base URL will be http://local.wordpress.dev. If you’re using a self-hosted site or another provider, just replace http://local.wordpress.dev with the base URL for your site).
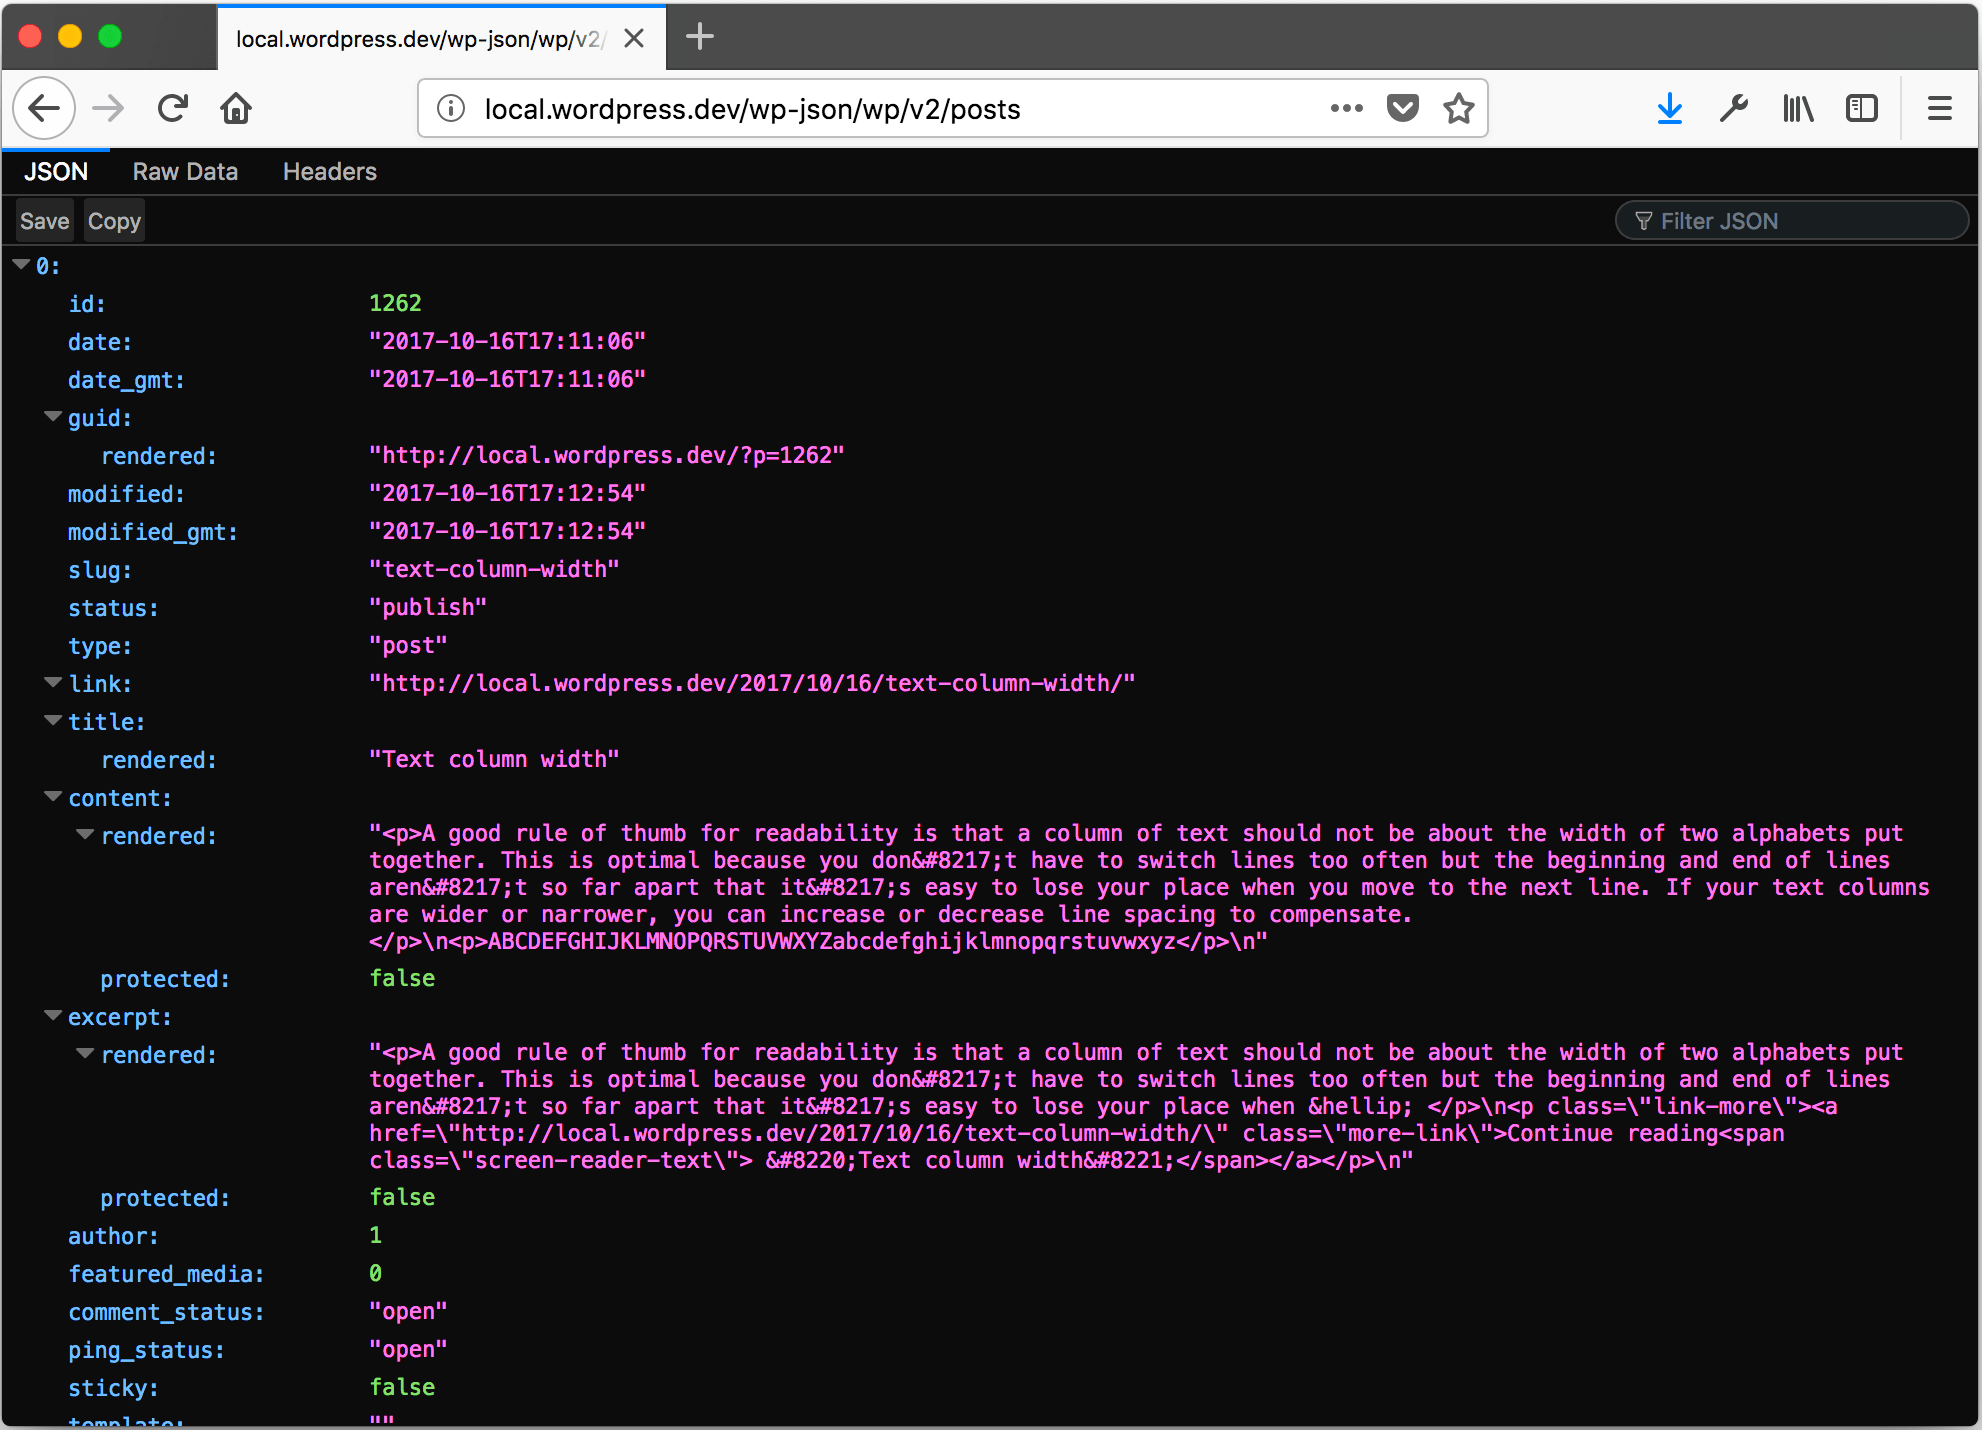
You should see the JSON output for all of your posts. (And if you’re using Firefox, you get this sweet JSON navigator. Awesome!)
Install Front End Dependencies
Now that our back end is up and running, it’s time to install Nuxt.
First of all, you must have the vue-cli installed, so if you haven’t already, do a:
npm install -g vue-cliFor this project, we’re going to use the Nuxt community starter template to get us up and running quickly. This template sets us up with build tools, linting, and a basic directory structure.
vue init nuxt-community/starter-template <project-name>
cd <project-name>
npm install
When that’s finished, we’re ready to get to work. We can start our dev server and do some initial coding.
npm run devGo to http://localhost:3000 to see your development site. Nuxt listens for changes in the project and reloads as necessary.
Set Up Base Styles
We’re going to use Sass to build our base styles for the project and then use component styles in our Vue components as needed. The first thing we need to do is to tell Nuxt to use our base styles.
Nuxt has two directories for static content: static and assets. static is used for content such as images that you just want to create simple links to. assets is used for content you want to require through the Webpack pipeline.
Let’s create a css directory in the assets folder and create a file called style.scss. You can then create your styles from here. I’m going to use the new Bootstrap reboot to start my project but you’re welcome to use reset, normalize, or whatever custom fun you want to do. Check out the code in the GitHub repo to see how it’s done here.
After you’ve set up your base styles, we need to tell Nuxt to use them and process them as Sass files.
We’ll need to add our Sass dependencies to the project, so run the following:
npm install --save-dev node-sass sass-loaderNow we edit the Nuxt config file to tell it to load our main Sass file. Open nuxt.config.js and add the following:
module.exports = {
  // ...
  css: ['@/assets/css/style.scss'],
  // ...
}
Close the dev server and then do an npm run dev to restart so Nuxt will pick up our configuration changes. Nuxt will load our styles.
Display Some Posts
Doing a bunch of fiddly setup and writing a whole lot of boilerplate is what’s truly exciting about front-end dev, but the point of this exercise is to show some blog posts. So let’s do that.
Getting the Data
But first some more fiddly setup and boilerplate.
We’ll need a library that can handle network requests from both Node and the browser, so we’ll install Axios.
npm install --save axiosClose the dev server and then do an npm run dev to restart so Nuxt will pick up our configuration changes.
We’re going to write our own little library to handle WordPress calls so that we can see the inner workings of the API, but you could also use node-wpapi or stay on the super-trendy train with WPGraphQL. We’ll create a new file called lib\wp.js.
Here’s the crux of it:
lib\wp.js
import axios from 'axios'

class WpApi {
  constructor (siteurl) {
    this.apiBase = `${siteurl}/wp-json`
  }

  posts () {
    return axios.get(`${this.apiBase}/wp/v2/posts`, {
      params: {
        page: 1,
        per_page: 5
      }
    })
      .then(json => {
        return { posts: json.data }
      })
      .catch(e => {
        return { error: e }
      })
  }
}

const wp = new WpApi('http://local.wordpress.dev')

export default wp
Now, we can import the wp object into our page templates and call the posts method to get a JSON resopnse containing our post data.
Let’s write some Vue!
There are three key locations for Vue components in Nuxt.
pages— Pages determines the routing of our Nuxt app. Components in pages have some additional, magical lifecycle properties used for getting and setting state before rendering.layouts— Layouts are just that: layouts. Each page has a layout which can be as simple as containing a single<nuxt/>component telling Nuxt where to render the page components. This is also a good page to put headers and footers that will appear on every page.components— This is where most of your Vue components will go. Components in this folder don’t have any additional magic beyond the existing sweet, sweet Vue goodness.
We’ll start by creating a couple of components:
components/posts/PostExcerpt.vue
<template>
  <article>
    <h2 class="subtitle">{{ post.title.rendered }}</h2>
    <div v-html="post.excerpt.rendered"></div>
  </article>
</template>

<script>
export default {
  props: {
    post: { type: Object }
  }
}
</script>
This component takes a post object received as JSON from the WordPress REST API as props and displays the title and excerpt. Of course, we can display as much or as little more of the post data as we want, but this will do for now. We use the v-html directive to display the contents of the post so any HTML tags in will render as HTML instead of being escaped. Obviously, you should use caution with this directive and only use it when you know the content you’re outputting is safe.
components/posts/PostList.vue
<template>
  <ul class="post-list">
    <li v-for="post in posts" :key="post.id" class="post-list-item">
      <PostExcerpt :post="post" />
    </li>
  </ul>
</template>

<script>
import PostExcerpt from './PostExcerpt.vue'

export default {
  props: {
    posts: { type: Array }
  },
  components: {
    PostExcerpt
  }
}
</script>

<style scoped>
.post-list {
  padding: 0;
}

.post-list-item {
  list-style: none;
}
</style>
This component takes a list of posts as props and displays one of our PostExcerpt components for each post. We pass each post as a prop into the PostExcerpt.
We’ll also add some very basic styling.
Now that we have our components, we need to display them on a page.
We’ll display excerpts for our five most recent posts on the home page. We’re going to replace the existing pages/index.vue file with our own version. The naming conventions of the pages folder determine the routing in our app, so pages/index.vue corresponds to the home page.
pages/index.vue
<template>
  <section class="container">
    <div>
      <PostList :posts="posts" />
    </div>
  </section>
</template>

<script>
import PostList from '~/components/posts/PostList.vue'
import wp from '~/lib/wp'

export default {
  async asyncData ({ params }) {
    return wp.posts()
  },
  components: {
    PostList
  }
}
</script>

<style>
.container {
  margin: 1rem auto;
  width: 90%;
  max-width: 900px;
}
</style>
The asyncData method is called before the page renders. This method updates the component state of the page component to include the data returned by this method. In this case, we call the posts() method from our wp library which returns the posts list from our WordPress site.
We’ll also add some very basic styling.
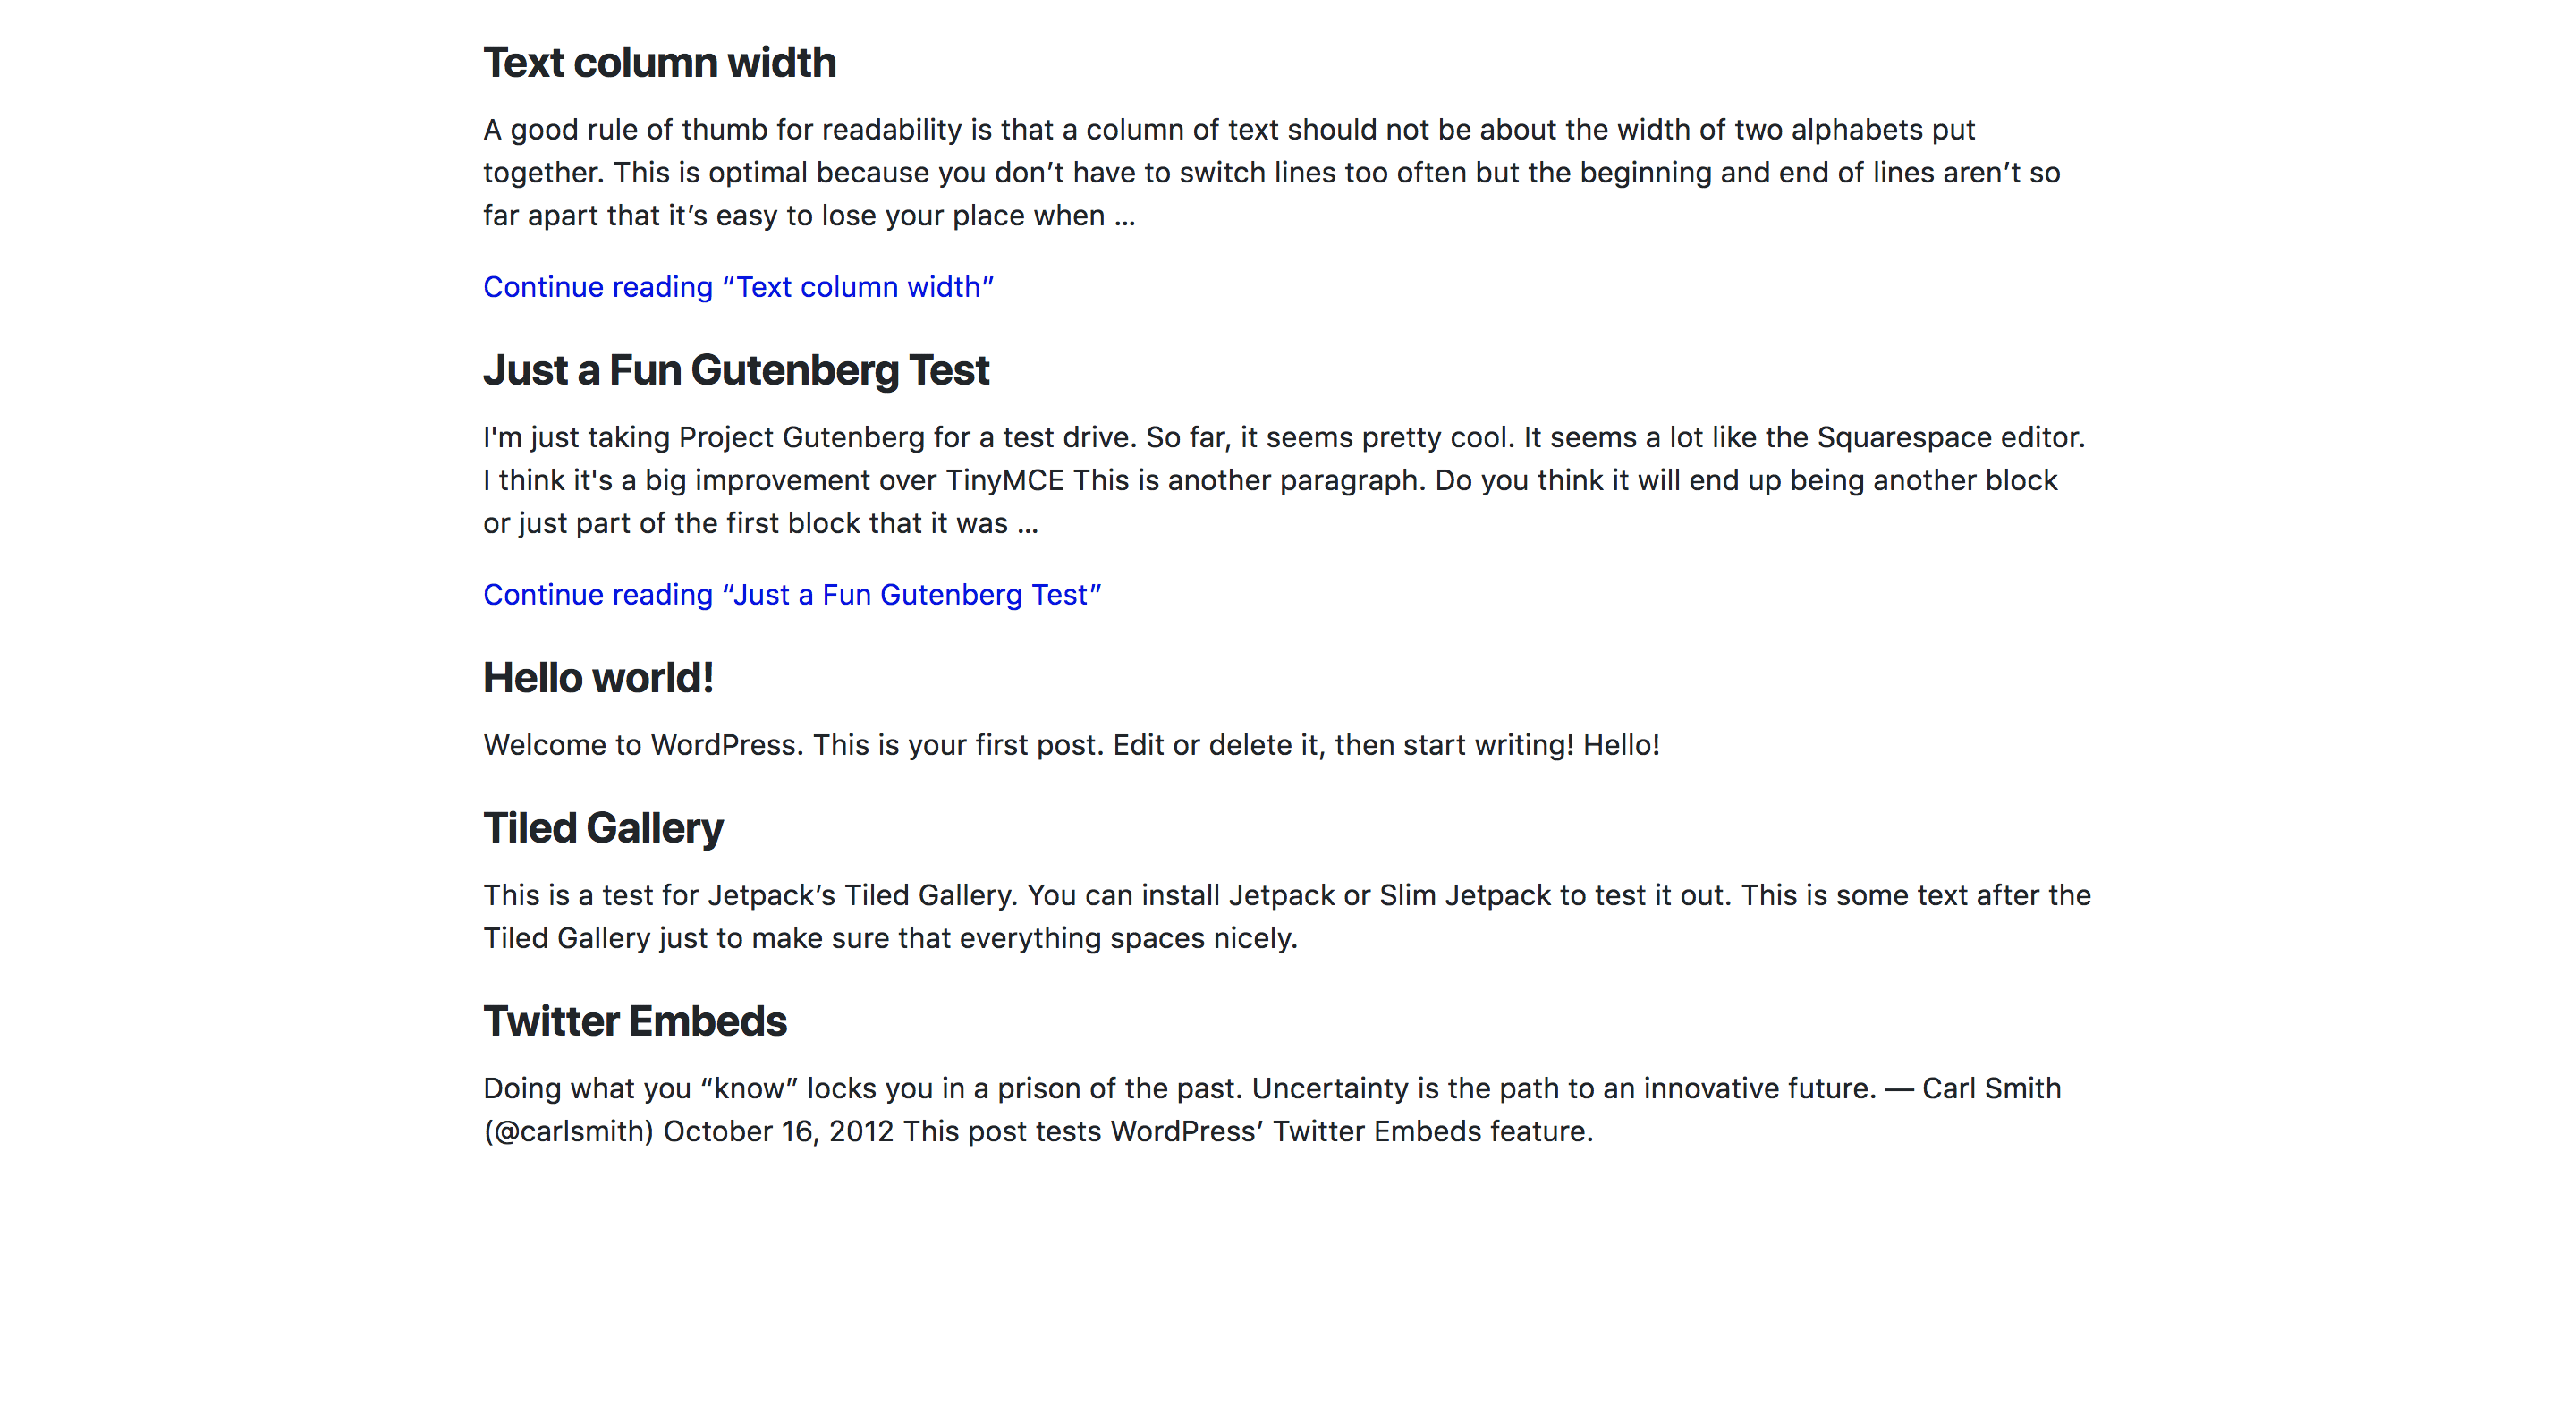
Check out our updated page. And poof!… we’ve got posts.
Wrapping Up
That’s a whole lot of bloggity blogness and I’d rather get back to coding than writing, so we’ll call this a wrap for now.
You can also check out the entire repo on GitHub at this point in project.
Tune in next time when we’ll use Vuex to fetch and display site data.